
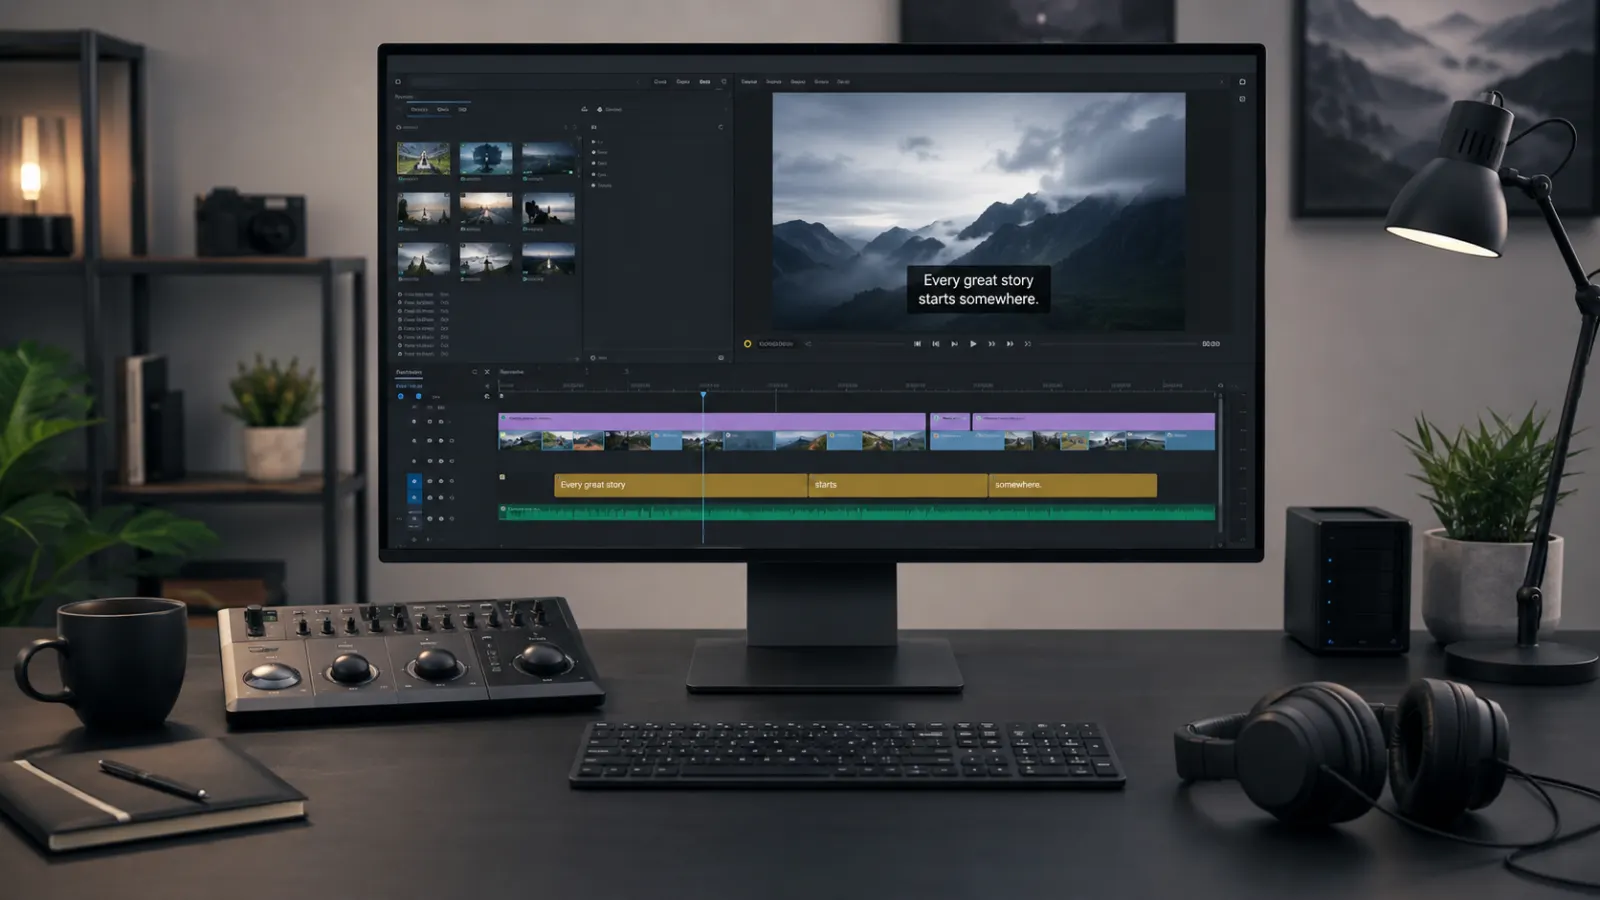
Adding captions in Adobe Premiere is much faster than typing every line by hand. Premiere can transcribe spoken audio, convert the transcript into synchronized captions, style the complete caption track, and export the result with your video.
You can also import an existing SRT file or create and correct caption segments manually. This guide explains each method, including how to edit timing, improve readability, add social media captions, and choose the correct export setting.
Quick Answer: How to Add Captions in Premiere
The fastest method uses Premiere’s built-in Speech to Text feature:
- Open your edited sequence.
- Select Window > Workspaces > Captions and Graphics.
- Open the Transcript tab in the Text panel.
- Select Transcribe sequence if Premiere has not already created a transcript.
- Choose the spoken language and audio source.
- Select Transcribe.
- Review and correct the transcript.
- Open the Captions tab.
- Select Create captions from transcript.
- Choose your caption format, style, line length, duration, and gap settings.
- Select Create captions.
Premiere then generates a synchronized caption track above the video tracks in the timeline. These steps follow Adobe’s current caption and Speech to Text workflow.
Finish Your Video Edit Before Creating Captions
Add captions when your video edit is finished or nearly finished. If you create captions too early and later remove or rearrange parts of the sequence, you may need to repair missing segments or correct their timing manually.
Adobe specifically recommends creating captions near the end of the editing process. Deleted caption segments are not automatically restored when you change the underlying edit. Adobe: Captions overview
Before starting, check the following:
- Your dialogue edit is complete.
- Interviews and voiceovers are synchronized.
- Unwanted takes have been removed.
- Your sequence uses the intended frame size.
- Dialogue is clear enough to understand.
- Music does not overpower the speaker.
- The correct sequence is active in the timeline.
You can still edit the video after adding captions, but finishing the main cut first usually reduces extra work.
Method 1: Generate Automatic Captions with Speech to Text
Premiere’s Speech to Text workflow turns dialogue into a transcript. You can then convert that transcript into timed caption segments.
Step 1: Open the Text Panel
Select Window > Text to display the Text panel.
Depending on your Premiere workspace and version, you can also select:
Window > Workspaces > Captions and Graphics
The dedicated workspace places the Text panel, Program Monitor, Properties panel, and timeline where they are easy to access during caption editing.
Step 2: Open the Transcript Tab
Select the Transcript tab inside the Text panel.
Premiere may already show a transcript if you enabled Automatic Transcription while importing your media. Adobe states that Automatic Transcription can begin generating transcripts when media enters the project.
If no transcript appears, select the panel menu and choose Generate static transcript, or select Transcribe sequence when that option appears in your version.
Step 3: Choose the Transcription Settings
Premiere opens a dialog with transcription options. Select the settings that match your video:
- Language: Choose the language spoken in the sequence.
- Speaker labeling: Enable this if you want Premiere to identify different speakers.
- Audio analysis: Choose a specific audio track or analyze clips tagged as Dialogue.
- In and Out range: Use this option when you only want to transcribe a selected part of the sequence.
A language pack may need to download before transcription begins. Adobe’s current Speech to Text settings include language selection, speaker labeling, audio-source selection, and transcription within marked In and Out points.
Select Transcribe and wait for Premiere to process the dialogue.
Step 4: Correct the Transcript
Read through the generated transcript before turning it into captions.
Automatic transcription can save substantial typing, but you should still check:
- Names of people and companies
- Technical terms
- Place names
- Numbers and dates
- Homophones
- Punctuation
- Speaker labels
- Words spoken over music
- Dialogue with a strong accent
- Sections containing background noise
Play the sequence while reviewing the transcript. Correcting errors here gives you a cleaner starting point for the caption track.
Step 5: Create Captions from the Transcript
After reviewing the transcript, open the Captions tab and select Create captions from transcript.
You may also see a Create Captions icon near the top of the Transcript tab. Adobe supports both entry points in its current caption workflow.
Step 6: Configure the Caption Settings
The Create Captions dialog controls how Premiere divides the transcript into individual segments.
Available settings may include:
- Caption preset: Use a saved preset or select Subtitle Default.
- Format: Choose the caption format required by your delivery platform.
- Stream: Select the required broadcast stream when using a compatible broadcast format.
- Style: Apply a previously saved caption style.
- Maximum length: Control how many characters appear in each segment.
- Minimum duration: Set how long short caption segments remain visible.
- Gap between captions: Set the space between consecutive segments.
- Lines: Choose single-line or double-line captions.
- Layout: Select a conventional layout or another available presentation style.
Adobe identifies preset, format, stream, style, character length, duration, and gap controls as options in the Create Captions dialog. Adobe: Create captions
For a typical YouTube video, tutorial, interview, or social post, Subtitle Default offers a practical starting point. Adjust the settings according to your video rather than forcing every sentence into the same length.
Select Create captions. Premiere adds a new caption track to the timeline and aligns its segments with the dialogue.
Method 2: Import an Existing SRT Caption File
Use this method when a client, translator, captioning service, or another application has provided an SRT file.
How to Import SRT Captions into Premiere
- Import the SRT file into the Project panel as you would import other media.
- Open the correct sequence.
- Drag the SRT file from the Project panel into the timeline.
- Position it at the sequence start or at the timecode used by the SRT file.
- Review the text and synchronization.
- Correct any timing or spelling errors.
- Apply the required caption style.
Premiere creates a new caption track when you drag an imported SRT file from the Project panel into a sequence.
If every caption appears early or late by the same amount, the SRT file may use a different starting point from your edited sequence. Move the caption track into alignment, then check several sections from beginning to end.
If the synchronization gradually becomes worse, confirm that the subtitle file was created for the same version, duration, and frame rate as the video you are editing.
Method 3: Add or Correct Captions Manually
Manual captioning is useful when:
- Your video contains only a few spoken lines.
- Automatic transcription misses a short section.
- You need to replace an incorrect segment.
- The audio is too unclear for reliable transcription.
- You are adding a translation written by a person.
- You need precise control over wording and timing.
Create a caption track through the Text panel, or begin with automatically generated captions and edit the individual segments.
Select a caption segment in the timeline to edit its wording in the Text or Properties panel. You can also adjust its timing by trimming the segment’s beginning or end in the timeline.
For an omitted sentence, place the playhead near the spoken line and add a new caption segment using the available Add Caption control in the Text panel. Type the dialogue, then trim the segment so it appears and disappears with the spoken words.
Manual review remains important even when Speech to Text produces a strong first draft.
How to Edit Caption Text and Timing
A caption should appear as the relevant dialogue begins and remain visible long enough to read comfortably. It should not stay on screen after a noticeably different sentence has started.
Use this editing process:
- Play the captioned sequence in real time.
- Stop when a caption appears too early, too late, or for too long.
- Select the caption segment in the timeline.
- Drag its beginning or ending edge to correct the duration.
- Edit the words in the Text panel.
- Split crowded captions into shorter segments.
- Remove unnecessary filler only if doing so does not change the speaker’s meaning.
- Replay the section without pausing.
Avoid filling the screen with a full paragraph. Break long speech into short, logical phrases. Natural pauses, sentence boundaries, and changes of speaker provide useful places to begin a new caption.
Check timing at normal playback speed. A caption that looks acceptable while the video is paused may disappear too quickly during playback.
How to Style Captions in Premiere
Select a caption segment in the timeline and use the Properties panel to change its appearance.
Premiere’s caption styling controls include options for fonts, alignment, fill, strokes, shadows, and saved styles. Adobe also allows a style to be applied across other captions or linked text elements.
You can usually adjust:
- Font family
- Font size
- Font weight
- Text color
- Alignment
- Caption position
- Background
- Stroke
- Shadow
- Text box appearance
A Readable Caption Style
For most videos, start with:
- A clear sans serif font
- White or lightly colored text
- A dark background or visible outline
- Consistent capitalization
- Enough size to read on a phone
- Bottom-center placement
- Comfortable spacing around the text
Preview the captions over both bright and dark scenes. White text may disappear over a bright shirt, window, sky, or graphic. A background, outline, or shadow can preserve contrast.
Keep captions clear of important visual information, including:
- A speaker’s name label
- Lower-third graphics
- Product details
- Demonstrations
- Platform buttons
- Social media interface elements
- Existing on-screen text
Apply One Style to the Whole Caption Track
After creating your preferred appearance, save it as a track style or apply it to all captions on the track. This keeps the video visually consistent and prevents you from formatting hundreds of segments separately.
Adobe’s Properties workflow includes an option to redefine a style and apply it to all captions on a track.
How to Create Social Media Captions
Short-form videos often use larger captions, stronger colors, and faster segmentation than interviews or educational videos. The text must remain readable on a small vertical screen without covering the subject.
For Reels, TikTok videos, Shorts, and vertical ads:
- Keep segments concise.
- Use a large, clear font.
- Place captions away from interface controls.
- Check the video on a phone-sized preview.
- Emphasize only important words.
- Maintain consistent colors.
- Avoid excessive animation.
- Leave enough time for viewers to read each phrase.
Premiere 26.3 introduced a Single Word layout that creates captions displaying one word at a time. To use it, open Create captions from transcript, expand Captioning Preferences, and select Single Word under Layout. Adobe: Create single-word captions
Single-word captions can suit fast social videos, but conventional phrase-based captions are often easier to follow in tutorials, interviews, lectures, and longer videos.
How to Translate Captions in Premiere
Premiere can translate generated or imported captions into another language.
To translate a caption track:
- Finish and review the original captions.
- Open the Captions tab.
- Select the Translate captions icon or translation option.
- Choose the target language.
- Select Translate.
- Review the translated track carefully.
- Correct names, specialist vocabulary, and context-dependent phrases.
- Apply the desired track style.
Premiere creates a separate track for the translated captions. Adobe states that this feature uses a cloud service and translation models from Google Translate and Microsoft Translator. Adobe: Translate captions
Treat automatic translation as a draft when accuracy matters. Ask a fluent speaker to review legal, medical, educational, technical, or branded material before publication.
Burned-In Captions, Embedded Captions, or an SRT File?
Your export choice determines whether viewers can turn the captions off.
Burned-In Captions
Burned-in captions become part of the video image. Viewers cannot disable them.
Choose this option when:
- You are publishing a Reel, Short, TikTok, or social advertisement.
- The platform may not retain a separate subtitle file.
- Captions form part of the visual design.
- You need the text to appear consistently wherever the video is played.
Sidecar Captions
A sidecar file, such as an SRT, remains separate from the video. You upload the video and caption file to a compatible platform.
Choose this option when:
- Viewers should control whether captions appear.
- YouTube or another platform accepts subtitle files.
- You need separate files for multiple languages.
- A client specifically requests an SRT file.
- You may revise the subtitles without rendering the video again.
Adobe notes that an SRT sidecar file supports one caption stream per file.
Embedded Captions
Embedded captions sit inside a compatible exported media file. Broadcast workflows may require formats such as CEA-608, CEA-708, or OP-47.
Adobe limits embedded caption support to particular caption formats and export configurations. Confirm the broadcaster’s or client’s technical specification before choosing this option.
How to Export a Video with Captions in Premiere
Select Export from the header bar to open the Export workspace. Choose your video format and other delivery settings, then open the Captions section.
Select the required caption output:
- Burn captions into video
- Create sidecar file
- Embed in output file, when supported
- None, if you do not want to include the caption track
Check that the correct caption track is enabled before exporting. If the sequence contains several language tracks, confirm which track will appear or export.
Adobe’s current export workflow supports burn-in, sidecar, and compatible embedded caption delivery. The sidecar formats available depend on the caption format selected in the sequence. Adobe: Export caption tracks
Export a short test section before rendering a long project. Review the result in a media player and, when possible, upload it privately to the intended platform for a final check.
Caption Quality Checklist
Review the complete video before delivery:
- Every spoken section has a caption.
- Names and specialist terms are spelled correctly.
- Numbers match the audio.
- Captions appear in sync with the speaker.
- Each segment remains visible long enough to read.
- Lines break at natural points.
- Text remains visible over changing backgrounds.
- Captions do not cover faces or important graphics.
- Speaker changes are easy to understand.
- Music does not hide dialogue needed for transcription.
- The chosen caption track appears in the export.
- The SRT file matches the final edited video.
- Translated captions have received a language review.
- The exported video has been played from beginning to end.
Common Premiere Caption Problems and Fixes
The Transcribe Button Is Missing
Open Window > Text and select the Transcript tab. Make sure a sequence is active in the timeline. You can also switch to Window > Workspaces > Captions and Graphics.
Premiere Transcribes the Wrong Audio
Open the transcription settings and choose the intended audio track. If your project uses audio tags, confirm that the spoken clips are identified as Dialogue. Premiere allows transcription from dialogue-tagged clips or from a selected audio track.
Captions Are Out of Sync
Check whether you changed the video edit after generating captions. Move or trim the affected segments, or regenerate the caption track after locking the final edit.
For imported SRT files, confirm that the file belongs to the same cut of the video.
Captions Do Not Appear in the Export
Return to the Export workspace and open the Captions settings. Choose Burn-in, Sidecar, or a supported embedded option. Also confirm that the intended caption track is active.
The Captions Are Difficult to Read
Increase the font size, improve contrast, add a dark background or outline, and move captions away from busy visual areas. Test them at the actual viewing size, especially for vertical videos.
Every Caption Is Too Long
Reopen the Create Captions dialog and reduce the maximum character length, or split crowded segments manually. Shorter segments usually work better for mobile viewing, provided they do not change too quickly.
How to Choose the Right Premiere Caption Workflow
a-Use automatic transcription for interviews, podcasts, courses, YouTube videos, presentations, and projects with substantial dialogue.
b-Use an imported SRT file when captions have already been prepared or professionally translated.
c-Use manual captioning for very short videos, corrections, stylized phrases, or audio that automatic transcription cannot understand reliably.
d-Use burned-in captions for social videos and situations where the text must always remain visible.
3-Use sidecar captions when viewers need an on/off option or you need separate subtitle languages.
f-Use embedded captions only when your delivery platform or broadcast specification supports the chosen format.
Add Accurate Captions Without Slowing Down Your Edit
Learning how to add captions in Premiere starts with a simple workflow: finish the video, transcribe the sequence, correct the transcript, create the caption track, style it, and select the correct export option.
Automatic captions provide a useful first draft, but careful review makes the final video clearer and more professional. Check every name, line break, timing point, and export setting before publishing.
Frequently Asked Questions
Can Premiere add captions automatically?
Yes. Premiere can transcribe spoken audio through Speech to Text and convert the transcript into synchronized caption segments. You should review the result for transcription, punctuation, and timing errors before exporting.
Can I add an SRT file to Premiere?
Yes. Import the SRT into the Project panel, then drag it into your sequence. Premiere places the subtitles on a caption track.
Can I edit automatically generated captions?
Yes. Select a caption segment and correct its text in the Text panel. Trim the segment in the timeline to adjust its start time, end time, or duration.
How do I permanently add captions to a video?
Choose the burn-in option under the Captions settings in the Export workspace. Premiere renders the text into the video image, so viewers cannot switch it off.
Can Premiere export an SRT file?
Yes. Select a sidecar caption export and choose SRT when it is available for your sequence and export format. One SRT file supports one caption stream.
Can Premiere translate captions?
Yes. Premiere can translate generated or imported captions and place the translation on a new caption track. Review automatic translations before publishing them.
Should I caption the video before or after editing?
Create the final caption track after completing or nearly completing the video edit. This reduces timing problems caused by deleted, shortened, or rearranged clips. Adobe recommends adding captions near the end of the editing process.