
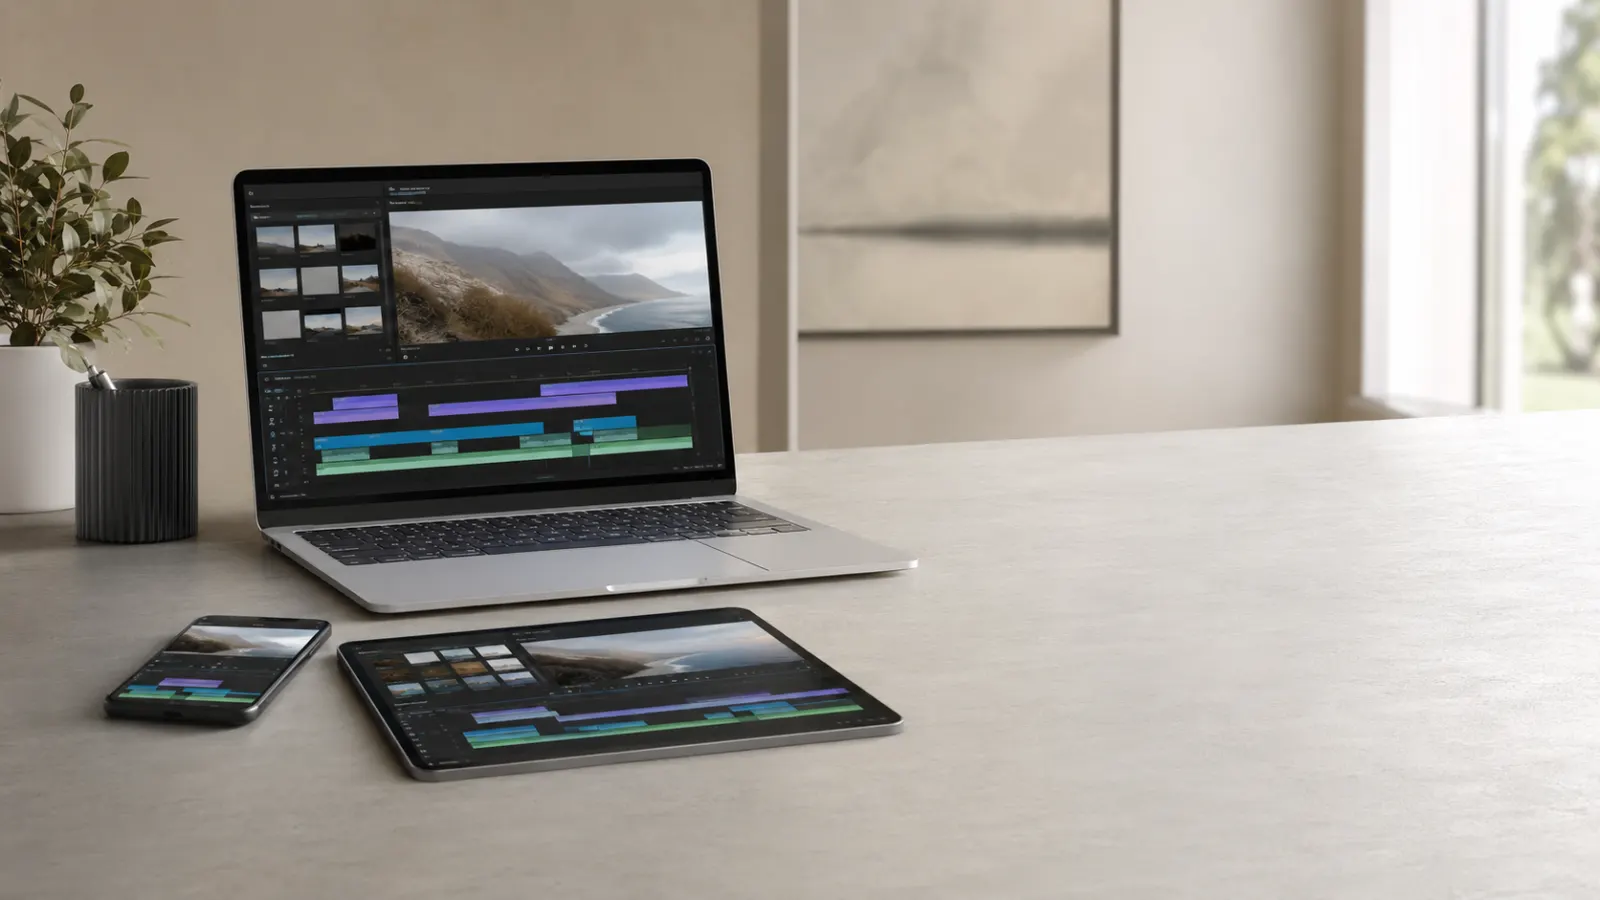
Adding captions in iMovie helps viewers follow dialogue when they watch without sound, hear unclear audio, or need written context. iMovie handles this through its title tools, so you create each caption as timed text and place it over the correct part of the video.
The process differs slightly between Mac, iPhone, and iPad. This guide explains each method, how to synchronize the text with speech, and how to make captions easier to read.
Quick Answer: How Do You Add Captions in iMovie?
To add captions in iMovie on a Mac:
- Open your movie project.
- Select Titles above the media browser.
- Choose a simple title style.
- Drag the title above the appropriate video clip.
- Replace the placeholder with your caption.
- Drag the title’s edges to match the spoken dialogue.
- Repeat the process for each caption.
On an iPhone or iPad, select a clip in the timeline, tap the Titles button, choose a style, and edit the sample text. Apple confirms that iMovie lets you add titles to video clips, photos, and backgrounds on all three platforms. Apple Support
Titles, Subtitles, and Closed Captions in iMovie
Before you begin, it helps to understand what iMovie creates.
Open captions
The title method creates text that remains visible in the exported video. Viewers cannot switch it off because the text becomes part of the picture. People commonly call these burned-in captions or open captions.
This method works well for:
- Instagram Reels
- TikTok videos
- YouTube Shorts
- Tutorials
- Interviews
- Social media advertisements
- Talking-head videos
- Videos designed for silent viewing
Closed captions
Closed captions exist as a separate timed track that viewers can turn on or off. They may also include relevant audio information, such as identifying a speaker or describing an important sound.
Apple documents dedicated caption creation, import, and export features for Final Cut Pro. For example, Final Cut Pro can import valid SRT, iTT, and CEA-608 caption files. Apple’s Final Cut Pro caption guide
Apple’s current iMovie documentation explains how to add title text but does not document a dedicated SRT caption import or export workflow. Based on that documentation, use the title method for visible captions in iMovie. Choose Final Cut Pro or a platform caption tool if you need a separate selectable caption file.
How to Add Captions in iMovie on Mac
The Mac version gives you the most precise control over timing. You can place title bars above clips, move them independently, and adjust their duration by dragging either edge.
1. Import the video
Open iMovie and create a new movie project. Import your footage, then drag it into the timeline.
Play the video once before adding text. Listening to the full recording helps you identify pauses, speaker changes, and places where captions should begin or end.
2. Open the Titles browser
Select Titles above the media browser. iMovie will display its available title styles.
Move your pointer across the thumbnails to preview their animations. Apple notes that some title styles depend on the theme selected for the project.
3. Choose a readable title style
Pick a simple style with minimal movement. An animated cinematic title may look attractive at the beginning of a film, but it can distract viewers when used for every spoken sentence.
For regular dialogue, choose a title that:
- Places text near the lower part of the frame
- Uses a clear font
- Has little or no animation
- Keeps the words visible long enough to read
- Does not cover faces or important objects
Preview the style before applying it. Some styles include movement that may not be obvious from the thumbnail alone.
4. Place the title over the video
You have several ways to add the title:
- Position the playhead and double-click the title style.
- Drag the title above the relevant video clip.
- Drag the title directly over the clip.
Placing the title above the clip usually gives you clearer control over its position and duration. If snapping is active, iMovie can align the title’s edges with nearby clips and transitions.
5. Replace the placeholder text
Select the new title in the timeline. Double-click the placeholder text in the viewer and type the spoken words.
Click the Apply button above the viewer after editing.
Keep each caption concise. If one sentence creates a crowded block, divide it into two timed captions rather than shrinking the font until it becomes difficult to read.
6. Match the caption to the dialogue
Move the title bar so its beginning aligns with the start of the spoken phrase. Drag either edge of the bar to adjust how long the caption remains visible.
Apple provides two ways to control a title’s duration on Mac:
- Drag either edge of the title bar.
- Select the title, open Clip Information, and enter a duration.
You can also drag the complete title bar to a different point in the timeline.
Play the section again and check three points:
- Does the caption appear when the speaker begins?
- Does it remain visible long enough to read?
- Does it disappear when the phrase finishes?
Exact word-level synchronization is usually unnecessary. The caption should follow the natural rhythm of the sentence without appearing noticeably early or late.
7. Format the caption
Double-click the title bar to display the formatting controls above the viewer. Depending on the chosen style, you may be able to change:
- Font
- Font size
- Text color
- Alignment
- Bold formatting
- Italic formatting
- Outline
Apple warns that some animated and theme-based titles restrict certain formatting options. If a control appears unavailable, try a different title style. Apple Support
8. Create the remaining captions
Repeat the process for each section of dialogue. You can duplicate an existing caption to preserve the same appearance, then replace its text and adjust its timing.
Review the complete project after finishing. A caption that looks fine while editing a single frame may move too quickly during normal playback.
How to Add Captions in iMovie on iPhone
The iPhone version attaches title text to a selected clip. If you need several captions during one long clip, split that clip into smaller sections first.
Add your first caption
- Open a movie project in iMovie.
- Tap the video clip or photo in the timeline.
- Tap the Titles button at the bottom.
- Select a title style.
- Tap the sample text in the viewer.
- Tap Edit.
- Enter your caption.
- Tap Done on the keyboard.
A T icon appears in the corner of a clip that contains a title. Apple also lets you drag the title to another position or resize it with a pinch gesture.
Add several captions to one long recording
A title on iPhone normally follows the clip to which it is attached. To show different text as the speaker continues:
- Move the playhead to the point where the caption should change.
- Tap the video clip.
- Use the split command.
- Repeat at the next caption change.
- Select each new segment.
- Add the appropriate title text.
Splitting does not remove the underlying footage when performed at the playhead. It creates separate timeline segments that can carry different titles.
Try to split during natural pauses. Captions will feel smoother if the text changes between phrases rather than halfway through a word.
Change the caption’s appearance
Select the clip, tap Titles, and open the available formatting options. Depending on the style, you can:
- Select another font
- Change the text color
- Use the default position
- Choose a lower-third position
- Add a text shadow
- Apply uppercase text
- Extend the title across the full clip
A lower-third title sits toward the bottom of the screen and often works well for interviews or speaker identification. Apple notes that selecting a different position may also change the title’s size.
How to Add Captions in iMovie on iPad
The iPad process closely matches the iPhone workflow, but the larger display can make text positioning and timeline editing easier.
Add and edit a caption
- Open your movie project.
- Select a video clip or photo.
- Tap the Titles button.
- Choose a title style.
- Tap the sample title in the viewer.
- Tap Edit and enter the caption.
- Tap Done.
You can drag the caption to another position, pinch it to change its size, or select another style from the title options.
If you want the caption to remain for the full selected clip, open the additional title options and turn on Full Clip Duration.
As with the iPhone method, split a long clip wherever the caption needs to change. Add separate text to each resulting segment.
How to Make iMovie Captions Easier to Read
Good captions do more than reproduce the dialogue. They present the words in a form that viewers can understand quickly.
Keep each caption short
Divide long sentences at natural pauses. Avoid filling the screen with a complete paragraph.
A useful split might look like this:
- I started editing videos last year
- because I wanted to document my travels.
Avoid awkward divisions such as:
- I started editing videos last
- year because I wanted to document my travels.
The first version keeps related words together and follows the speaker’s rhythm.
Use strong contrast
Choose light text over dark footage or dark text over a light background. A shadow or outline can help when the background changes frequently.
Watch the video at full size and on a phone-sized display. Text that looks clear in the editor may become difficult to read on a smaller screen.
Keep captions away from platform controls
Social platforms may place usernames, buttons, descriptions, or progress indicators around the edges of a video. Avoid putting essential text too close to the bottom or sides of the frame.
A slightly higher lower-third position usually works better than text placed directly against the bottom edge.
Use consistent formatting
Keep the same font, size, color, and position throughout one video unless a deliberate change identifies another speaker.
Consistency helps viewers concentrate on the message instead of adjusting to a new visual style every few seconds.
Check spelling and punctuation
Listen to the recording while reading each caption. Check:
- Names
- Brand terms
- Place names
- Numbers
- Technical vocabulary
- Contractions
- Sentence endings
If the speaker says a word unclearly, confirm it from the original script or recording notes rather than guessing.
Identify speakers when necessary
If two people speak off camera or alternate quickly, add a short speaker label where it improves understanding.
Examples include:
- Host: What happened next?
- Maya: We changed the original plan.
- Narrator: The team returned the following morning.
Do not label every line if the speaker remains visually obvious.
How to Export an iMovie Video With Captions
Because the title text appears as part of the finished picture, export the completed movie normally.
Export from a Mac
- Review the entire timeline.
- Choose File.
- Select Share, then File.
- Enter the video name.
- Choose your resolution and quality settings.
- Continue and select a save location.
Apple’s documented Mac workflow uses File > Share > File to export a movie as a video file. Apple Support
Open the exported file before uploading it. Confirm that every caption appears at the correct time and remains inside the visible frame.
Export from an iPhone or iPad
Return to the project screen, tap the share button, and select the option to share or save the finished video. Depending on your device and settings, you can save it to the photo library or Files, send it through another app, or transfer it with AirDrop.
Common Caption Problems and Their Fixes
The caption lasts for the entire clip
On iPhone or iPad, split the video into shorter segments and assign different title text to each segment.
On Mac, select the title bar and shorten it by dragging its edge.
The caption appears too early
Move the title bar to the right on a Mac. On a mobile device, adjust the split point so the relevant segment begins closer to the dialogue.
The words are too small
Choose a larger font or reduce the number of words on screen. Breaking one long caption into two shorter captions often produces a cleaner result.
The title style will not let you change the font
Some animated and theme title styles restrict formatting. Apple documents this limitation on Mac. Choose a simpler title style if you need full font control.
The caption covers a person’s face
On iPhone or iPad, tap the title in the viewer and drag it to a clearer area. On Mac, choose a title style with more suitable placement. iMovie does not offer the same free-positioning behavior for every Mac title template.
The text changes too quickly
Extend the title bar on a Mac. On mobile, move the clip’s split point so the caption stays attached to a longer segment.
The captions disappear after export
Check that the titles remain visible in the project timeline and preview the entire movie before exporting again. If you expected a separate subtitle track, remember that the iMovie title workflow creates visible text in the video rather than a selectable SRT track.
Mistakes to Avoid When Captioning in iMovie
- Using decorative animated titles for every sentence
- Adding too many words to one screen
- Placing text against the bottom edge
- Changing fonts repeatedly
- Using weak contrast over busy footage
- Letting captions remain after the speaker finishes
- Splitting phrases in unnatural places
- Covering faces, demonstrations, or product details
- Exporting without watching the finished file
- Assuming title text creates a separate closed-caption file
Add Clear, Well-Timed Captions to Your Next Video
Learning how to add captions in iMovie starts with the title tool. On Mac, place separate title bars over the footage and adjust their timing. On iPhone or iPad, split the video into caption-sized sections and add text to each segment.
Keep the design simple, synchronize each caption with the speaker, and check the exported video on a small screen. If your project needs automatic transcription, SRT files, or optional closed captions, use a dedicated caption workflow instead of relying only on iMovie titles.
Frequently Asked Questions
Can iMovie generate captions automatically?
Apple’s current iMovie guides document manual title tools, not automatic speech transcription. Apple documents automatic subtitle generation in Final Cut Pro, where users can select clips containing speech and choose Generate Captions > Subtitles.
Can you import an SRT file into iMovie?
Apple’s current iMovie documentation does not provide an SRT import procedure. I cannot confirm native SRT import support in iMovie from Apple’s published guides. Apple does explicitly document SRT import and export in Final Cut Pro.
Can viewers turn off iMovie captions?
Not when you create captions with iMovie titles and export them as part of the video. The resulting text remains visible in the picture.
For optional captions, upload a separate caption file through the destination platform if it supports one, or use editing software with a dedicated closed-caption workflow.
How do I add multiple captions in iMovie?
On Mac, add several title bars above the video and adjust each one separately. On iPhone or iPad, split the clip at each text change and add a different title to every segment.
Can I move captions in iMovie?
On iPhone and iPad, Apple lets you drag a title within the viewer. On Mac, title placement depends on the selected template, although you can move the title bar to another time in the timeline.
What is the best iMovie title style for captions?
Choose a clean, minimally animated style that places readable text near the lower part of the frame. The exact available styles may depend on the device, iMovie version, and selected project theme.
Can I change the duration of a caption?
Yes. On Mac, drag either edge of the title bar or enter a duration through Clip Information. On iPhone and iPad, caption timing follows the selected clip or segment, so split the footage to control when the text changes.
Do iMovie captions remain visible after uploading?
Titles included in the exported picture should remain visible when the video is uploaded because they form part of the rendered video. Always inspect the exported file before publishing to confirm the timing, placement, and spelling.