
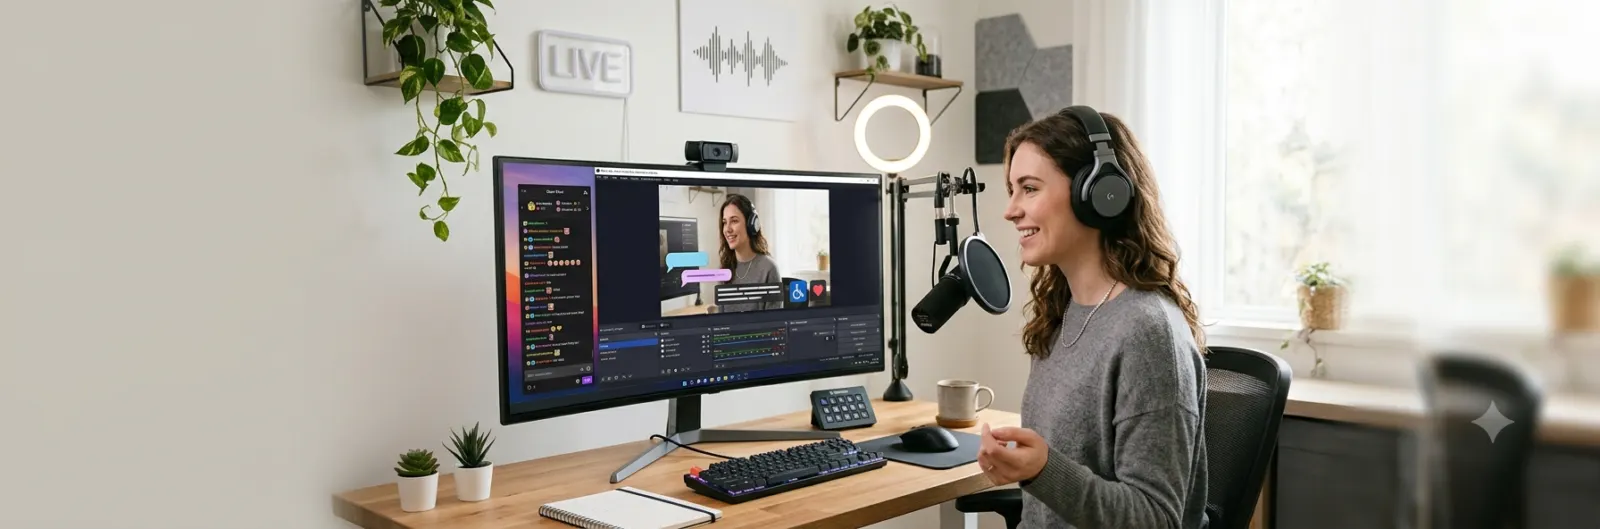
If you stream on Twitch, YouTube, Facebook Live, or record videos with OBS Studio, adding captions can make your content more accessible, professional, and engaging. Captions help viewers follow your content in noisy environments, support people with hearing loss, and can even improve watch time for videos uploaded later. This guide explains the best ways to add captions to OBS, including manual methods, automatic live captions, third party tools, browser sources, and platform specific solutions. Whether you’re a beginner or an experienced streamer, you’ll find a method that fits your setup.
Quick Answer
OBS Studio does not include a built in automatic caption generator. Instead, you can add captions by using one of these methods:
- Use OBS text sources for manual captions.
- Add real time captions with speech to text software.
- Connect OBS to caption plugins.
- Display captions through a browser source.
- Use live caption features offered by streaming platforms.
- Generate captions after recording during video editing.
The best option depends on whether you’re creating live streams or prerecorded videos.
What Are Captions in OBS?
Captions display spoken words as readable text while your audience watches your stream or recording. Unlike subtitles that are usually added during editing, captions can appear live as someone speaks.
Many creators use captions to:
- Make streams easier to understand.
- Help viewers watching without sound.
- Improve accessibility.
- Increase audience retention.
- Support multilingual audiences.
- Create professional looking broadcasts.
For live creators, captions can be especially valuable because many viewers watch streams on mobile devices with the sound turned off.
Does OBS Studio Have Built In Captions?
No. OBS Studio does not currently generate automatic captions by itself.
Instead, OBS allows you to integrate external tools that convert speech into text. The generated captions can then appear inside your stream or be delivered through supported streaming platforms.
Fortunately, OBS is flexible enough to work with several captioning solutions, from simple browser based tools to advanced AI powered transcription software.
Why Add Captions to OBS?
Adding captions does more than improve accessibility. It also creates a better viewing experience for many different audiences.
Improve Accessibility
Captions make live streams and videos available to viewers who are deaf or hard of hearing.
They also help people with temporary hearing limitations or those watching in public places.
Increase Viewer Retention
Many users scroll through social media or watch streams without enabling audio.
Visible captions encourage them to keep watching because they immediately understand what’s happening.
Make Content Easier to Follow
Fast conversations, technical discussions, gaming callouts, and tutorials become easier to understand when captions appear alongside the audio.
Improve Video Repurposing
If you upload your OBS recordings to YouTube, captions can make edited clips more engaging across multiple platforms.
Support International Audiences
Many non native English speakers understand written English more easily than spoken English, especially during fast paced streams.
Ways to Add Captions to OBS
There is no single best method. Choose the approach that matches your workflow and streaming goals.
Method 1. Add Manual Text Captions
This is the simplest option for prerecorded content or scheduled presentations.
You manually create text that appears during important moments.
Best for:
- Educational videos
- Tutorials
- Product demonstrations
- Presentations
- Slideshows
Pros
- Complete control
- No transcription errors
- Easy to customize
Cons
- Time consuming
- Not suitable for live conversations
Method 2. Use Real Time Speech to Text Software
Speech recognition software listens to your microphone and converts your voice into captions automatically.
Many creators use this option because it requires little manual work after setup.
Benefits include:
- Automatic transcription
- Live caption updates
- Continuous speech recognition
- Minimal editing during streams
This approach works well for gaming, podcasts, webinars, interviews, and educational broadcasts.
Method 3. Add Captions with a Browser Source
OBS supports browser sources that display live web content inside your scene.
Some captioning tools provide a webpage that automatically updates as speech is recognized.
OBS simply displays that webpage during your stream.
This method offers:
- Easy setup
- Flexible styling
- Live updates
- Cloud based transcription
Method 4. Use OBS Caption Plugins
Several community developed plugins extend OBS with caption features.
Depending on the plugin, you may get:
- Automatic transcription
- Caption overlays
- Better customization
- Integration with AI transcription engines
- Support for multiple streaming platforms
Plugins often provide more flexibility than browser based solutions.
Method 5. Use Your Streaming Platform’s Caption Features
Some streaming platforms provide their own live caption support.
Instead of displaying captions directly inside OBS, the captions appear through the streaming service.
This approach keeps your OBS scenes cleaner while still helping viewers who enable captions.
Choosing the Right Caption Method
Every creator has different priorities. Consider these factors before choosing a solution.
If You Stream Games
Look for low latency speech recognition.
Fast captions help viewers keep up with commentary and reactions.
If You Teach or Present
Accuracy matters more than speed.
Choose tools with reliable speech recognition and support for punctuation.
If You Record Videos
Generate captions after recording.
You’ll have more time to review and correct mistakes before publishing.
If Accessibility Is Your Priority
Select caption software with high recognition accuracy and customizable text size.
Large, readable captions improve the experience for a wider audience.
Before You Start
A few simple improvements can dramatically increase caption accuracy.
Use a Quality Microphone
Clear audio produces more accurate speech recognition.
Background noise often causes incorrect words.
Speak Naturally
Avoid talking too quickly.
A steady speaking pace allows caption software to recognize words more accurately.
Reduce Background Noise
Turn off loud fans, televisions, or music whenever possible.
Cleaner audio leads to better transcription.
Keep OBS Updated
Running the latest version of OBS improves compatibility with newer plugins and caption tools.
Test Before Going Live
Run a short private recording to check:
- Caption accuracy
- Text size
- Overlay position
- Font readability
- Delay between speech and captions
A quick test can prevent problems during your live broadcast.
Which Caption Method Is Best?
The right choice depends on your workflow.
| Your Goal | Recommended Method |
|---|---|
| Fast live streaming | Real time speech to text |
| Professional tutorials | Manual captions |
| AI powered transcription | OBS caption plugin |
| Cloud based captions | Browser source |
| Maximum accessibility | Platform supported captions plus OBS overlays |
Each option has strengths, and many creators combine multiple methods for the best results.
Step by Step: How to Add Manual Captions in OBS
Manual captions work well for prerecorded videos, presentations, and tutorials where you know what you’ll say ahead of time.
Step 1. Open OBS Studio
Launch OBS Studio and open the scene where you want the captions to appear.
Step 2. Add a Text Source
- Click the + button in the Sources panel.
- Select Text (GDI+) on Windows or Text (FreeType 2) on macOS and Linux.
- Give the source a descriptive name.
- Click OK.
Step 3. Enter Your Caption
Type the text you want viewers to see.
You can update this text whenever you need a new caption during your recording.
Step 4. Customize the Appearance
Adjust the settings to make your captions easy to read.
Recommended settings include:
- White text
- Black outline
- Semi transparent background
- Medium or large font size
- Bottom center placement
Step 5. Position the Captions
Drag the text source to the lower portion of the preview window.
Leave enough space so the captions don’t cover important gameplay or presentation elements.
Step 6. Record or Stream
Start recording or streaming. Update the text source whenever your caption needs to change.
This method takes more effort but offers complete control over wording and timing.
How to Add Live Captions Using Windows Live Captions
Windows includes a built in Live Captions feature that automatically transcribes spoken audio.
Step 1. Enable Live Captions
- Open Settings.
- Go to Accessibility.
- Select Captions.
- Turn on Live Captions.
Windows may download speech recognition files the first time you enable this feature.
Step 2. Configure Your Audio
Make sure OBS is using the same microphone that Windows listens to for speech recognition.
Clear microphone input improves caption accuracy.
Step 3. Position the Caption Window
Move the Live Captions window so it doesn’t block your OBS controls while monitoring your stream.
Best For
- Tutorials
- Meetings
- Educational streams
- Casual livestreams
Limitations
- Captions appear on your computer, not automatically inside your OBS scene.
- Extra tools are needed if you want viewers to see those captions during the stream.
How to Add Captions with Google Chrome Live Caption
Google Chrome includes Live Caption support for audio played in the browser.
This works well when browser audio is part of your workflow.
Enable Chrome Live Caption
- Open Chrome.
- Go to Settings.
- Select Accessibility.
- Turn on Live Caption.
Chrome automatically downloads the required speech files.
Advantages
- Easy setup
- Good recognition quality
- Works offline after installation
- No additional subscription required
Drawbacks
- Primarily designed for browser media.
- Doesn’t automatically caption microphone audio for every OBS setup.
Using Whisper Live for OBS Captions
Whisper based transcription tools have become popular because they provide fast and accurate speech recognition.
Many streamers choose Whisper Live because it balances speed with excellent transcription quality.
Typical Setup
- Install Whisper Live.
- Select your microphone.
- Choose your language.
- Configure real time transcription.
- Send captions to an OBS browser source or text source.
- Start streaming.
Why Creators Like Whisper
- High transcription accuracy
- Supports multiple languages
- Fast processing
- Regular updates
- AI powered recognition
Whisper performs especially well with clear microphones and steady speech.
Add Captions Through an OBS Browser Source
Many caption services provide a live webpage that displays captions as they’re generated.
OBS can display that webpage inside any scene.
Step 1. Add a Browser Source
- Click the + button under Sources.
- Choose Browser.
- Name the source.
- Click OK.
Step 2. Paste the Caption URL
Enter the URL supplied by your caption service.
Adjust the width and height so the captions fit naturally within your layout.
Step 3. Customize the Overlay
Many browser based caption tools let you change:
- Font family
- Font size
- Text color
- Background color
- Transparency
- Position
- Animation
Benefits
- Professional appearance
- Automatic updates
- Easy customization
- No manual typing
Using OBS Caption Plugins
Several OBS plugins simplify the process of displaying captions directly inside your scenes.
Although installation steps differ, the general workflow is similar.
Install the Plugin
Download a plugin that’s compatible with your version of OBS.
Follow the installation instructions provided by the developer.
Configure Speech Recognition
Most plugins ask you to choose:
- Audio input device
- Recognition language
- Caption style
- Update speed
Add the Caption Source
Once configured, add the plugin’s caption source to your OBS scene.
Position and resize it like any other source.
Test Everything
Speak normally and verify that:
- Captions appear correctly.
- Timing feels natural.
- Text remains readable.
- No important visuals are blocked.
Stream Platform Caption Options
Some streaming services provide caption support that works alongside OBS.
Instead of embedding captions directly into your scene, viewers can enable captions through the platform.
YouTube Live
YouTube supports automatic captions for many live broadcasts.
These captions are generated using speech recognition and continue improving as the stream progresses.
Facebook Live
Facebook has offered caption support for eligible live streams and uploaded videos in many regions.
Availability may vary depending on account type and location.
Twitch
Twitch does not generate automatic captions for every stream.
Many creators use third party caption tools that integrate with OBS to provide accessible streams.
Customize Your Caption Style
Good captions should be easy to read without distracting viewers.
Keep these design tips in mind.
Choose a Readable Font
Simple fonts are usually easier to read during fast moving streams.
Avoid decorative fonts.
Use High Contrast
White text with a dark outline remains readable across most backgrounds.
Pick an Appropriate Size
Captions should remain readable on both desktop and mobile devices.
Avoid text that’s too small.
Leave Safe Margins
Don’t place captions directly against the edge of the screen.
A small margin creates a cleaner appearance.
Avoid Covering Important Content
Move captions away from:
- HUD elements
- Webcam overlays
- Presentation slides
- Scoreboards
- Chat windows
Troubleshooting Caption Problems
Even well configured caption tools can run into occasional issues.
Captions Are Delayed
Check your internet connection if you’re using a cloud based caption service.
For AI powered local tools, reducing CPU usage may improve response time.
Captions Contain Incorrect Words
Improve microphone quality and reduce background noise.
Speaking clearly also increases recognition accuracy.
Captions Don’t Appear in OBS
Verify that:
- The correct source is visible.
- The browser source URL is correct.
- The plugin is enabled.
- The scene containing captions is active.
Text Looks Blurry
Increase the browser source resolution or choose a sharper font.
Avoid scaling small text too much.
Best Practices for Better OBS Captions
Following a few simple habits can make your captions look much more professional.
- Use a dedicated microphone instead of your laptop’s built in mic.
- Speak at a steady pace.
- Keep background music lower than your voice.
- Test captions before every stream.
- Review recordings to spot transcription errors.
- Use consistent caption placement across streams.
- Update OBS and caption tools regularly.
- Keep captions large enough for mobile viewers.
- Choose colors with strong contrast.
- Monitor your stream occasionally to ensure captions continue working.
Common Mistakes to Avoid
Many beginners encounter the same issues when setting up captions.
Avoid these common mistakes.
- Using low quality microphones.
- Speaking too quickly.
- Covering important gameplay with captions.
- Choosing fonts that are difficult to read.
- Forgetting to test before going live.
- Ignoring transcription errors.
- Using text that’s too small for mobile devices.
- Overloading the screen with unnecessary overlays.
- Forgetting to update plugins after an OBS update.
- Assuming every streaming platform displays captions the same way.
Captions work best when they’re accurate, easy to read, and positioned so they support your content instead of distracting from it.
Conclusion
Adding captions to OBS is a simple upgrade that makes your streams and recordings more accessible, engaging, and professional. While OBS Studio doesn’t include built in automatic captioning, it works seamlessly with manual text sources, AI powered transcription tools, browser based overlays, and platform specific caption features. The best solution depends on your workflow. Manual captions are ideal for tutorials and prerecorded videos, while AI tools like Whisper Live and browser based caption services are better suited for live streaming. If you stream to platforms such as YouTube, you can also take advantage of their automatic captioning features to reach an even wider audience. No matter which method you choose, test your setup before going live, use a clear microphone, and keep your captions easy to read. Well placed, accurate captions help more people enjoy your content, improve accessibility, and create a better viewing experience for every viewer.
Frequently Asked Questions About How to Add Captions to OBS
Can OBS add captions automatically?
OBS Studio does not include a built in automatic caption feature. To display live captions, you’ll need to use a third party speech to text tool, an OBS plugin, a browser source, or a streaming platform that supports automatic captions.
What is the easiest way to add captions to OBS?
For beginners, the easiest option is to use a browser based caption service or Windows Live Captions. If you’re recording videos instead of streaming, you can also add captions manually with an OBS text source.
Can I use AI to generate captions in OBS?
Yes. AI powered transcription tools like Whisper Live can generate real time captions with impressive accuracy. These tools are popular among streamers, educators, and podcasters because they work with multiple languages and require minimal manual editing.
Are there any free ways to add captions to OBS?
Yes. Several free methods are available, including:
- OBS text sources for manual captions
- Windows Live Captions
- Google Chrome Live Caption
- Some open source Whisper based transcription tools
Premium services may offer additional customization, cloud processing, or language support.
Can I add captions to Twitch streams?
Yes. Since Twitch doesn’t provide automatic captions for every stream, many creators use AI caption software or browser source overlays to display captions directly within OBS.
Does YouTube automatically caption OBS streams?
If you stream to YouTube Live, YouTube can generate automatic captions for many broadcasts. Caption availability depends on factors like language, audio quality, and account settings.
Can I edit captions after recording?
Absolutely. If you’ve recorded a video with OBS, you can review, edit, and improve captions during post production before publishing. This usually results in greater accuracy than live captioning.
How can I improve caption accuracy?
You can improve speech recognition by:
- Using a high quality microphone
- Speaking clearly and naturally
- Reducing background noise
- Testing your setup before streaming
- Keeping your caption software updated