
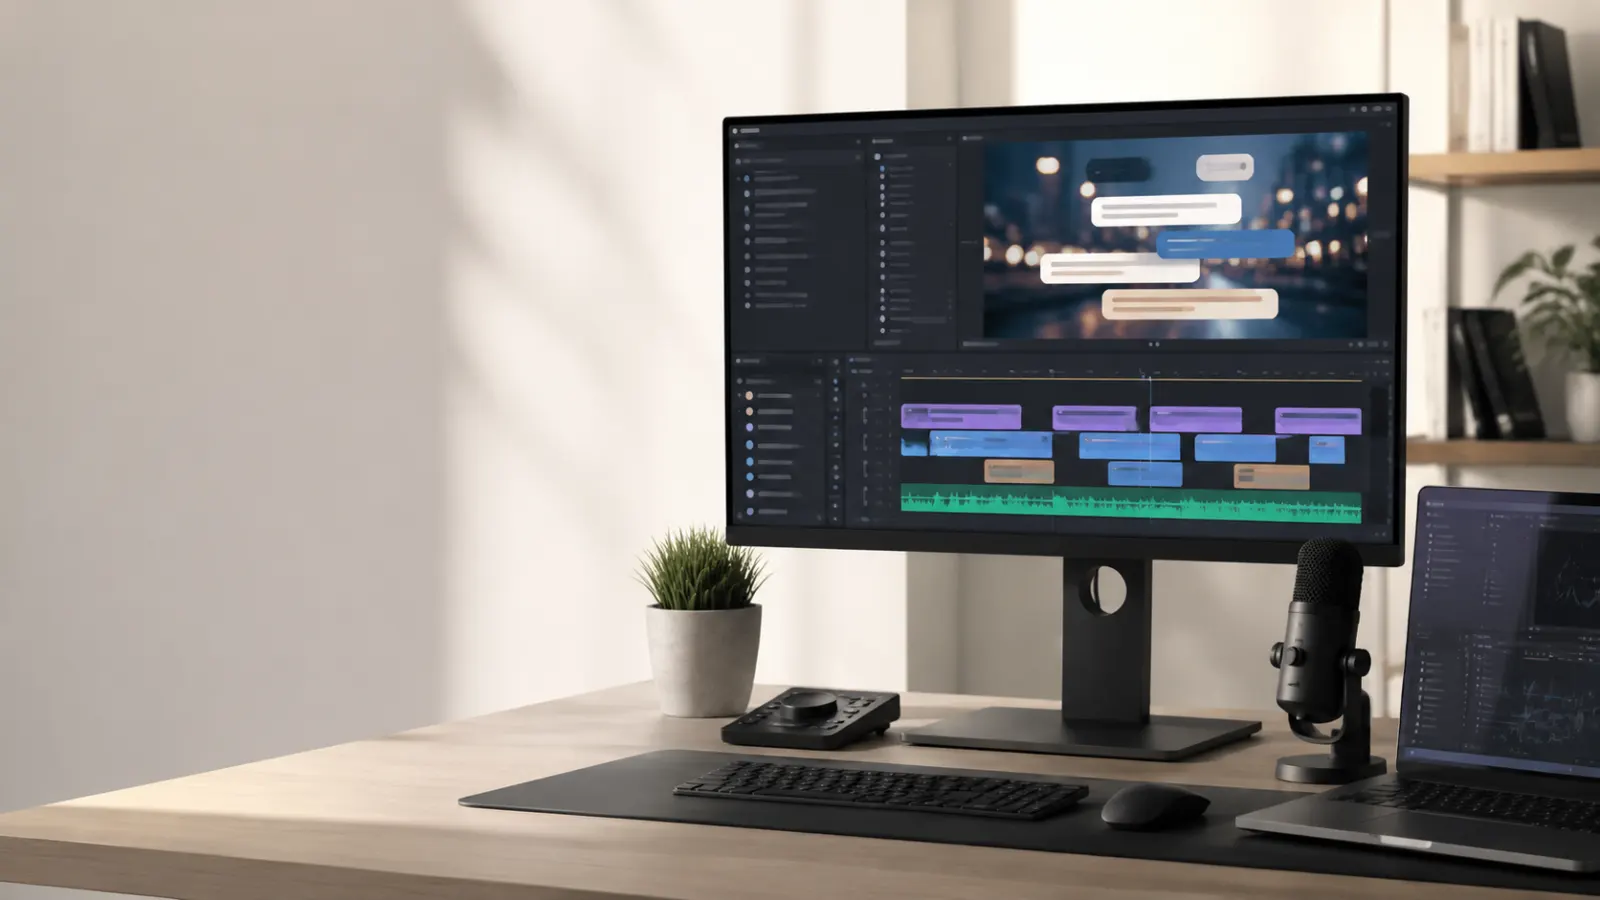
Captioneer for Premiere Pro turns spoken audio, imported subtitle files, or an existing Adobe transcript into editable animated captions. Instead of building each text animation manually, you can select a Motion Graphics Template, generate caption graphics on the timeline, and customize their appearance inside Premiere Pro.
This guide explains how to install Captioneer, generate captions, edit the results, import subtitle files, use custom MOGRTs, and fix common problems.
Quick Answer: How Do You Use Captioneer in Premiere Pro?
To create animated captions with Captioneer Premiere Pro:
- Download and install Captioneer.
- Open Premiere Pro.
- Go to Window > Extensions > Captioneer.
- Open the sequence containing your edited video.
- Choose Auto Captions, an Adobe transcript, or an imported caption file.
- Select an animated caption preset.
- Adjust the caption settings.
- Click Add MOGRTs to place the captions on your timeline.
- Correct the wording and timing.
- Style the captions through Premiere Pro’s Properties panel.
Captioneer generates Motion Graphics Template clips rather than relying only on a standard subtitle track. That makes it useful for animated social media captions, promotional videos, interviews, podcasts, YouTube Shorts, Instagram Reels, and TikTok edits. Captioneer’s official quick-start guide confirms that generated captions remain editable on the timeline and customizable through the Properties panel.
What Is Captioneer for Premiere Pro?
Captioneer is a paid Adobe extension for creating animated subtitles and caption graphics in Premiere Pro and After Effects. It can transcribe audio, work with Adobe’s transcript and caption workflow, and generate MOGRT-based text clips directly on an editing timeline.
According to the official Captioneer product listing, the extension supports Premiere Pro and After Effects 2022 or later on Windows and macOS. The same listing says a standard license can run on two active computers.
Captioneer currently offers:
- Automatic speech transcription
- Animated caption presets
- Caption generation from Adobe transcripts
- SRT, VTT, and CSV file support
- Editable MOGRT caption clips
- Font, color, text, and design controls
- Caption timing adjustments on the timeline
- Custom Motion Graphics Template support
- Premiere Pro and After Effects compatibility
- Offline transcription options
- CPU, GPU, and automatic processing choices
The developer added an NVIDIA Parakeet transcription model, a Graphics tab, MOGRT drag and drop support, progress indicators, and new text replacement tools during 2026. These additions appear in the official Captioneer version history.
Captioneer Captions Versus Standard Premiere Pro Captions
Captioneer and Premiere Pro’s native caption tools serve related but different purposes.
Premiere Pro’s standard caption track works well for conventional subtitles, accessibility workflows, and subtitle file delivery. Captioneer focuses more heavily on animated, visually styled captions created as motion graphics.
Captioneer may suit your project when you want:
- Words that appear with animated movement
- Highlighted keywords
- Karaoke-style text
- Branded fonts and colors
- Bold captions for vertical videos
- Reusable caption animation templates
- Greater visual control over individual text clips
A normal Premiere Pro caption track may be more suitable when your client needs:
- A separate SRT file
- Optional closed captions that viewers can switch on or off
- A broadcast subtitle deliverable
- A simple, nonanimated subtitle track
- A caption file for translation or localization
Captioneer can generate a caption track and work with Adobe transcription, but its signature workflow uses MOGRT graphics. The official documentation describes MOGRTs as an Adobe ecosystem format, which is why Captioneer does not provide the same workflow for Final Cut Pro, DaVinci Resolve, or Avid.
What You Need Before Installing Captioneer
Check these requirements before you begin:
- Adobe Premiere Pro 2022 or later
- A compatible Windows or macOS computer
- A Captioneer installer
- An active trial or paid license
- A Premiere Pro project with a sequence
- Clear dialogue audio for automatic transcription
- Enough free storage for transcription models and project media
Captioneer offers a 14-day trial without a required payment, according to its official download page. Pricing and trial terms can change, so confirm the current offer before downloading.
How to Install Captioneer in Premiere Pro
Step 1: Download the Current Installer
Download Captioneer from its official website or aescripts product page. Choose the installer made for your operating system.
Avoid unofficial download sites. An outdated or modified installer may fail to appear inside Premiere Pro and could create security or licensing problems.
Step 2: Close Adobe Applications
Save your current work, then completely close Premiere Pro and After Effects before running the installer.
Closing Adobe applications allows the installer to place the extension files in the proper locations without conflicts.
Step 3: Run the Captioneer Installer
Open the downloaded installer and follow the instructions shown on the screen. If your operating system requests permission, confirm that you downloaded the file from the official source before proceeding.
The developer’s installation instructions direct users to run the Captioneer installer and then open the extension from Premiere Pro.
Step 4: Open Captioneer in Premiere Pro
Launch Premiere Pro, open a project, and select:
Window > Extensions > Captioneer
The Captioneer panel should appear inside the Premiere Pro workspace. You can dock it beside the Project, Properties, Essential Graphics, or Effect Controls panels.
Step 5: Activate Your Trial or License
Follow the activation prompt inside the extension. If you purchased Captioneer through aescripts, use the license and account details connected to that purchase.
Captioneer also supports installation through the aescripts and aeplugins manager app, according to the official product FAQ.
Prepare Your Premiere Pro Timeline
A clean timeline helps Captioneer generate more accurate and manageable results.
Before transcription:
- Complete your main dialogue edit.
- Remove unused takes and long silent sections.
- Check that the correct sequence is active.
- Confirm that dialogue audio is audible.
- Reduce loud music beneath speech if necessary.
- Place the playhead near the intended caption area.
- Save a new version of your project.
Try to caption a reasonably finished edit. If you make major cuts after generating MOGRTs, you may need to move, trim, replace, or regenerate some caption clips.
How to Generate Auto Captions With Captioneer
Step 1: Select Auto Captions
Open the Captioneer panel and choose Auto Captions as your transcription source.
The official guide states that Auto Captions can transcribe the audio and create MOGRTs directly on the Premiere Pro timeline.
Step 2: Choose the Correct Language
Select the language spoken in the video. Do not choose English for dialogue recorded mainly in another language.
Captioneer advertises support for major languages and provides multiple transcription models. However, speech recognition accuracy will still vary with the language, accent, recording quality, vocabulary, and background noise. Review every generated line before publishing.
Step 3: Select a Processing Option
Depending on your version and computer, Captioneer may offer:
- Auto
- GPU
- CPU
Use Auto if you are unsure. GPU processing may provide better performance on a supported system, while CPU processing can help when GPU processing is unavailable or unstable.
Captioneer added these three processing choices in version 1.7.3, as recorded in the official version history.
Step 4: Choose a Transcription Model
Use the available model that best matches your hardware and accuracy requirements. Larger models can require more storage and processing resources.
The current aescripts listing mentions NVIDIA Parakeet for English and 25 European languages. Language and model availability may change, so check the choices displayed inside your installed version rather than assuming every model supports every language.
Step 5: Pick a Caption Preset
Preview the available MOGRT styles and choose one that matches the video.
Captioneer’s current preset collection includes more than 15 styles, with options built around clean text, karaoke effects, keyword emphasis, paper effects, typewriter movement, and other animated treatments. The exact library may change as the developer releases updates.
Step 6: Set Your Caption Rules
Review any available controls for:
- Words per caption
- Caption duration
- Line length
- Single-word captions
- Text case
- Punctuation
- Position
- Scale
- Caption track placement
- Gap handling
Use shorter groups for fast social videos. Use longer, calmer phrases for tutorials, interviews, documentaries, and educational content.
Step 7: Generate the Captions
Start the transcription and wait for Captioneer to process the audio. Do not close Premiere Pro while the operation is running.
Once transcription finishes, review the text and generate the MOGRT captions on the timeline. Captioneer’s Premiere Pro extension currently organizes its main workflow through Graphics, Insert, and Update tabs, with Add MOGRTs used to place graphics into the sequence.
How to Use an Existing Adobe Transcript
You do not always need to transcribe the audio again. Captioneer can work with Adobe’s transcript and caption workflow.
A practical workflow is:
- Open Premiere Pro’s Text panel.
- Transcribe the sequence.
- Correct names, technical terms, and obvious errors.
- Create or prepare captions from the transcript.
- Open Captioneer.
- Select the Adobe transcription or caption source.
- Choose a MOGRT preset.
- Add the styled captions to the timeline.
This method is useful when you have already reviewed the transcript or need to keep the text consistent with another subtitle deliverable. Captioneer officially confirms compatibility with Adobe transcripts and captions in its Adobe transcription guide.
How to Import SRT, VTT, or CSV Captions
If a client, translator, transcription service, or another editor provides a caption file, you can use it instead of creating a new transcript.
The usual process is:
- Check the subtitle file for spelling and timing errors.
- Open the correct Premiere Pro sequence.
- Launch Captioneer.
- Select the caption file import option.
- Choose the SRT, VTT, or CSV file.
- Select your MOGRT style.
- Review the imported text.
- Add the graphics to the timeline.
- Check the timing against the dialogue.
The official Captioneer materials confirm support for SRT, VTT, and CSV inputs. File structure matters, especially with CSV files, so use the format requested in the current documentation.
How to Edit Caption Text and Timing
Never publish automatic captions without reviewing them.
Correct the Wording
Select a caption graphic and edit its text in Premiere Pro’s Properties panel. Check:
- People’s names
- Company and product names
- Places
- Numbers
- Abbreviations
- Industry terminology
- Homophones
- Punctuation
- Speaker changes
Captioneer’s FAQ confirms that users can edit text through the Properties panel.
Adjust Caption Timing
Move a caption clip left or right to change when it appears. Trim its beginning or end to control how long it remains visible.
Keep each caption synchronized with the spoken phrase. Avoid showing a word noticeably before the speaker says it unless the animation itself requires a small lead.
Split Overloaded Captions
Divide a long caption when:
- It covers an important visual detail
- The viewer cannot read it comfortably
- Two separate ideas appear in one graphic
- The speaker pauses between phrases
- A sentence crosses a scene change
Remove Unnecessary Filler
You may remove repeated filler words if doing so does not change the speaker’s meaning. Keep them when they contribute to tone, humor, hesitation, or characterization.
How to Style Captioneer Captions
Select a generated MOGRT and open Premiere Pro’s Properties panel. Available controls depend on how the template was built.
You may be able to change:
- Font family
- Font weight
- Font size
- Text color
- Highlight color
- Background color
- Stroke
- Shadow
- Alignment
- Position
- Scale
- Animation settings
- Keyword emphasis
- Line spacing
Use one clear visual system throughout the video. Constant changes in font, color, position, and animation can distract viewers from the message.
Caption Styling Tips for Vertical Video
For Reels, Shorts, and TikTok videos:
- Keep captions away from interface buttons.
- Leave room near the bottom for platform controls.
- Use strong contrast against the footage.
- Break speech into short, natural phrases.
- Highlight only the most important words.
- Preview the video on a phone-sized display.
- Check that captions do not cover faces or products.
Caption Styling Tips for YouTube and Tutorials
For longer videos:
- Choose a calmer animation.
- Use a highly readable font.
- Keep the placement consistent.
- Avoid animating every letter unnecessarily.
- Allow enough reading time.
- Use color sparingly.
- Prioritize clarity over decorative motion.
How to Add Your Own MOGRTs
Captioneer allows users to add compatible Motion Graphics Templates from other marketplaces or create their own templates in After Effects.
A custom template can include:
- Brand fonts
- Approved colors
- Text backgrounds
- Entry and exit animation
- Keyword highlights
- Position controls
- Stroke and shadow settings
- Adjustable text sizes
The official FAQ confirms that users can build a MOGRT in After Effects and use it with Captioneer.
Test a custom MOGRT on a short sequence before applying it to a full project. Confirm that text does not clip, long words fit, controls remain editable, and rendering performance is acceptable.
Common Captioneer Premiere Pro Problems
Captioneer Does Not Appear Under Extensions
Try these steps:
- Close Premiere Pro completely.
- Install the latest Captioneer version.
- Restart the computer.
- Reopen Premiere Pro.
- Check Window > Extensions > Captioneer.
- Confirm that your Premiere Pro version is supported.
- Reinstall the extension if necessary.
Captioneer’s official reinstall guide recommends installing the latest version before opening the panel again.
Captions Are Out of Sync
Possible causes include:
- The video was re-edited after caption generation.
- The wrong sequence was active.
- Audio clips moved after transcription.
- Imported subtitle timecodes do not match the sequence.
- The sequence frame rate changed.
Regenerate captions after locking the dialogue edit, or manually retime the affected MOGRT clips.
Captions Are Too Large or Positioned Incorrectly
Check the template’s position and scale controls. Also review Premiere Pro’s media scaling setting.
Captioneer recommends setting Premiere Pro’s Default Media Scaling to None and using the scaling option inside the extension where appropriate. See the official scale-to-frame-size guidance.
Transcription Contains Many Errors
Improve the source audio before trying again:
- Reduce background music.
- Isolate the dialogue track.
- Choose the correct language.
- Try another available transcription model.
- Confirm that audio channels contain the expected speech.
- Correct specialized vocabulary manually.
No automatic transcription system guarantees perfect text. A human review remains essential.
Premiere Pro Becomes Slow
Animated MOGRTs require more processing than plain caption text. If playback becomes sluggish:
- Lower playback resolution.
- Render the caption section.
- Close unused applications.
- Use fewer simultaneous effects.
- Test a simpler MOGRT.
- Divide a long sequence into manageable sections.
- Update Captioneer and Premiere Pro after checking compatibility.
Mistakes to Avoid With Animated Captions
Using an Overly Busy Preset
A complex animation may suit a short promotional clip but feel tiring in a long interview. Match the movement to the pace and purpose of the video.
Highlighting Every Word
Frequent color changes weaken emphasis. Highlight names, key terms, numbers, calls to action, or important emotional words.
Trusting the Transcript Without Review
Automatic tools can mishear names, accents, technical language, and quiet dialogue. Watch the full video while reading every caption.
Covering Important Visuals
Check faces, products, demonstrations, charts, and screen recordings. Move captions when they obstruct information.
Treating Styled Graphics as Optional Closed Captions
MOGRT captions normally become part of the rendered picture. They are not automatically equivalent to a separate subtitle file that viewers can enable or disable. Keep a standard caption track or sidecar subtitle file when the delivery specification requires selectable captions.
Adding Captions Before the Edit Is Stable
Major timeline changes create unnecessary retiming work. Finish the dialogue structure before generating the final graphics.
Is Captioneer Worth Using?
Captioneer makes the most sense for editors who regularly produce animated captions inside Adobe Premiere Pro or After Effects. It is especially relevant for social videos, talking-head content, podcasts, promotional edits, and branded client work.
It may be less suitable if you:
- Edit mainly in DaVinci Resolve or Final Cut Pro
- Need only plain subtitle files
- Rarely create animated captions
- Prefer Premiere Pro’s built-in caption styling
- Need a fully separate, switchable closed caption workflow
As of August 2026, Captioneer lists a 14-day trial, a $15 monthly subscription, and a $150 lifetime license. The subscription includes the extension, more than 15 caption styles, custom MOGRT support, and unlimited caption generation. Confirm current prices on the official Captioneer pricing page before purchasing.
Final Captioneer Workflow Checklist
Before exporting your video:
- Confirm that every spoken line has been reviewed.
- Correct names, numbers, and technical terms.
- Check caption timing from beginning to end.
- Keep captions inside the safe viewing area.
- Confirm that text does not cover important visuals.
- Use readable colors and sufficient contrast.
- Preview horizontal and vertical versions separately.
- Render difficult MOGRT sections if playback stutters.
- Save a new project version.
- Retain a standard subtitle file when required.
Captioneer Premiere Pro can shorten the work involved in creating styled, animated subtitles, but the best results still depend on careful editing. Choose a restrained preset, correct the transcript, check every timing point, and test the finished captions on the screen where viewers will watch the video.
Frequently Asked Questions
Is Captioneer free for Premiere Pro?
Captioneer is not permanently free. Its official website currently offers a 14-day trial without requiring payment. Continued use requires a subscription or lifetime license.
Which Premiere Pro versions support Captioneer?
The official product FAQ states that Captioneer supports Premiere Pro 2022 and later on Windows and macOS. Check the latest compatibility information before updating Premiere Pro.
Can Captioneer automatically transcribe a video?
Yes. Its Auto Captions feature transcribes timeline audio and generates animated MOGRT captions. Available models and languages depend on the installed Captioneer version.
Can I edit Captioneer captions after generating them?
Yes. You can edit the text through Premiere Pro’s Properties panel and adjust timing directly on the timeline.
Can Captioneer import SRT files?
Yes. Captioneer supports SRT, VTT, and CSV caption sources in addition to automatic and Adobe-based transcription workflows.
Can I use Captioneer captions for Instagram Reels?
Yes. Its animated MOGRT workflow is designed for styled social video captions. Keep text inside the safe viewing area and preview the final edit on a mobile screen.
Does Captioneer work in After Effects?
Yes. Captioneer supports both Premiere Pro and After Effects. The After Effects version can generate captions from Auto Captions and imported SRT, VTT, or CSV files, according to the official After Effects documentation.
Does Captioneer work with DaVinci Resolve?
No. Captioneer relies on Adobe Motion Graphics Templates and currently supports the Adobe ecosystem rather than DaVinci Resolve or Final Cut Pro.
Can coworkers open a project without Captioneer?
The developer states that coworkers can open collected Premiere Pro projects without installing Captioneer. Use Premiere Pro’s Project Manager to collect the required project assets before sharing.
Can I use Captioneer on two computers?
The standard aescripts license allows two active computers, according to Captioneer’s official FAQ. Different licensing rules may apply to enterprise orders.
Should I export an SRT file as well?
Export or retain an SRT file when a platform, broadcaster, client, or accessibility specification requires selectable captions. Animated MOGRT text usually serves as visible on-screen graphics rather than a substitute for every closed caption delivery format.